
Are you struggling with repetitive patterns in your floor panels or tiles when creating visualizations in V-Ray for SketchUp?
Don’t worry—I’ve got you covered. In this article, I’ll walk you through a step-by-step process to create natural-looking floor tiles using the Multi-Sub Map feature. By the end, you’ll be able to achieve a professional and realistic result.
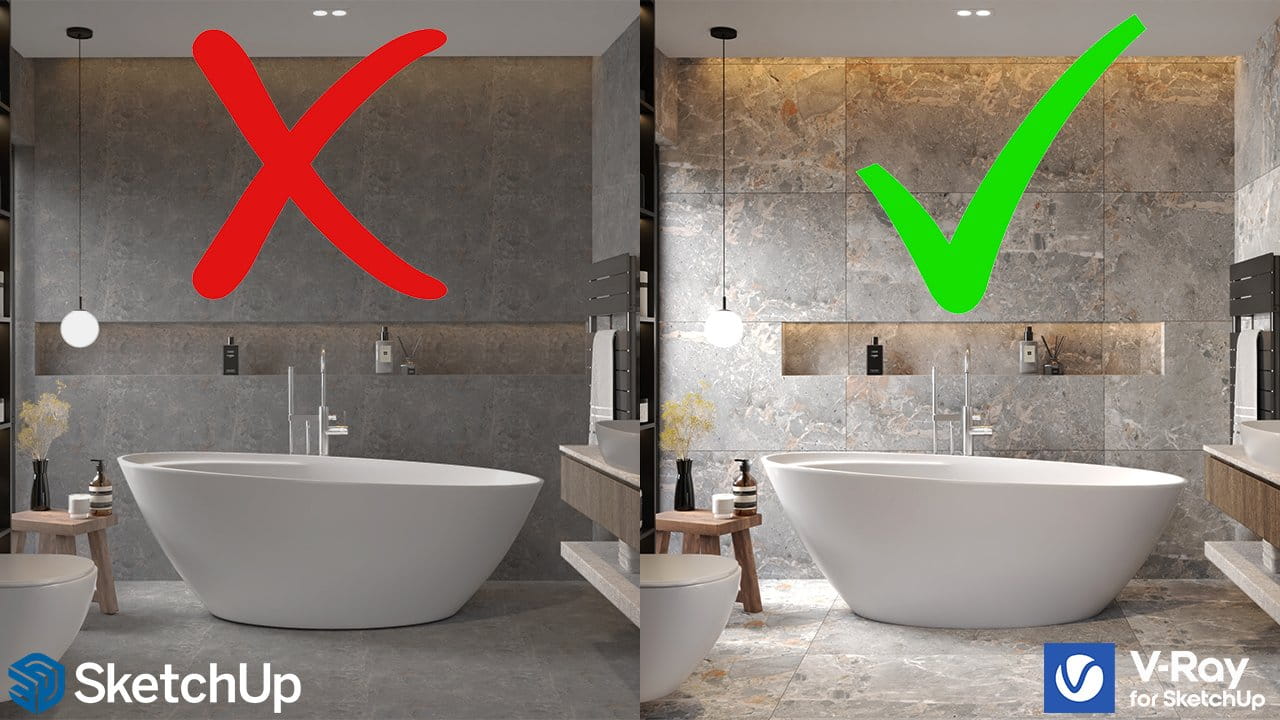
Why Avoid Repetitive Patterns?
Repetitive patterns occur when a single texture map is reused across a surface, making the design look artificial. Eliminating these patterns and introducing subtle variations are essential for creating realistic renders.
Key problems with repetitive patterns:
- Lack of variation makes the surface look fake and flat.
- Identical textures next to each other can distract viewers.
- Poor material application undermines the overall quality of your visualization.
By addressing these issues, you can elevate your work and ensure your visualizations look as natural as possible.
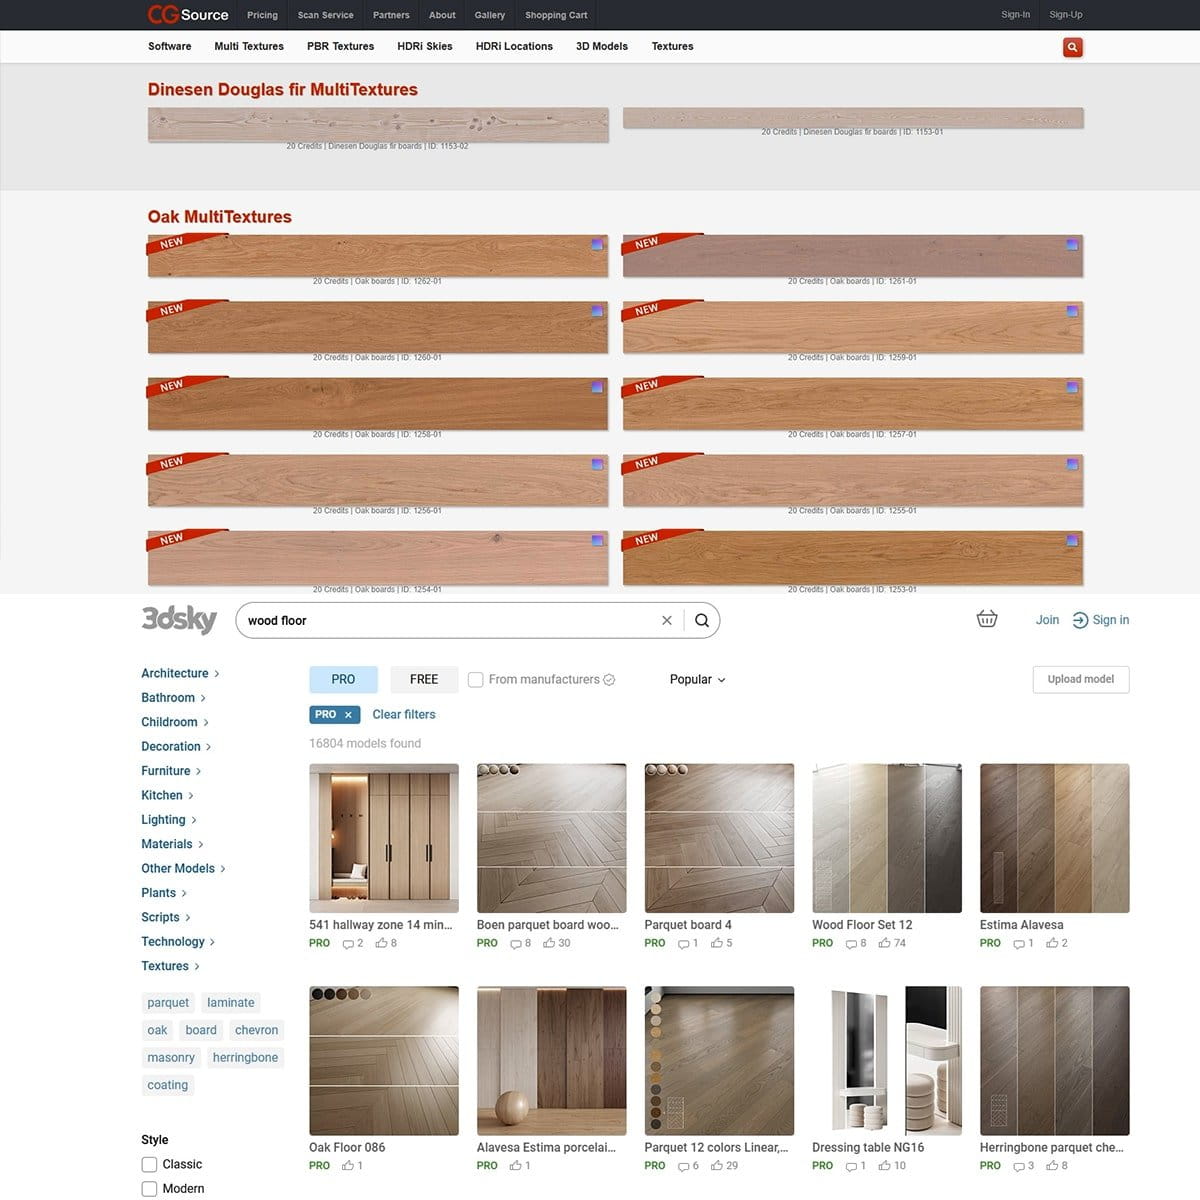
Step 1: Sourcing High-Quality Maps
The quality of your maps significantly impacts the final visualization. When downloading tile or panel maps from the internet, ensure the image resolution is high enough. The maps should be at least 1000 pixels, with 2000 pixels being optimal.
Websites for High-Quality Textures:
- CG-Source: Offers a wide range of multitextures, especially for wooden floor panels.
- 3dsky: Provides high-quality textures for various materials.
- Manufacturer Websites: For tiles, many manufacturers offer downloadable JPG maps.
For my visualization, I will use a map downloaded from the internet with a resolution of 1200×2400 pixels.
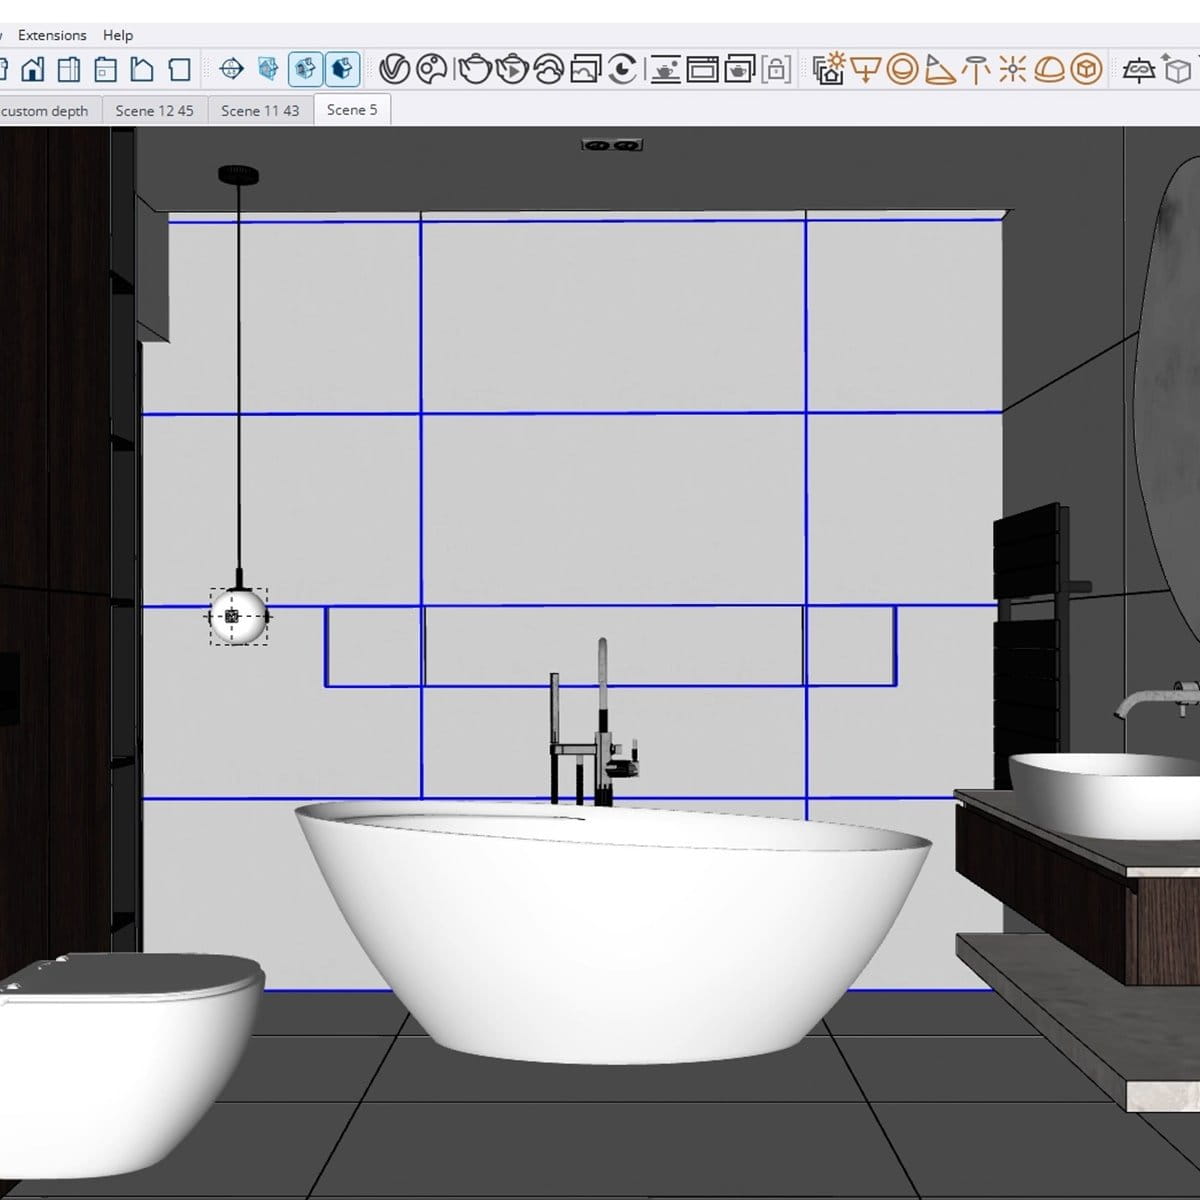
Step 2: Manually Modeling Tiles in SketchUp
Rather than applying a texture to a large plane, manually model the tiles for better control and realism. Here’s how:
- Measure Your Tile: If your tile is 119.8×59.8 cm, create a rectangle of these dimensions in SketchUp.
- Group Each Tile: Grouping tiles prevents unwanted issues when applying materials later.
- Arrange Tiles: Copy and arrange the tiles with a small gap between them to mimic real-life tiling.
- At the end, select all the tiles together and create one large group.
Why model manually?
- It allows precise control over individual tiles.
- Grouping ensures each tile can be randomized independently.
- The final result is more realistic and detailed.
Step 3: Creating Tile Materials in V-Ray
To eliminate repetitive patterns, we’ll use V-Ray’s Multi-Sub Map feature. Here’s the process:
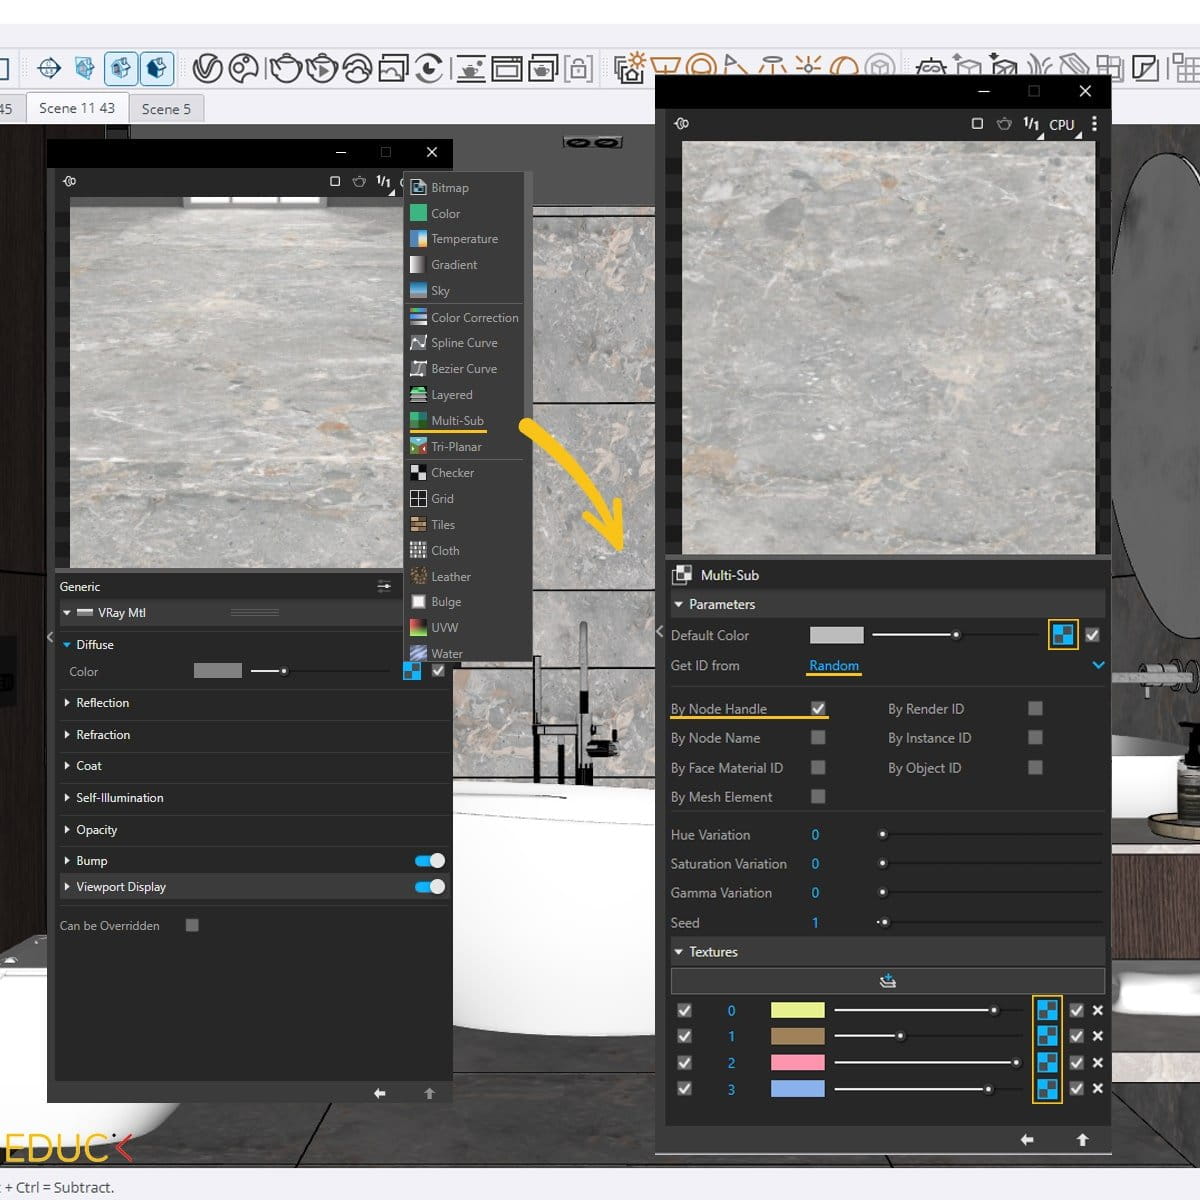
- Open V-Ray Material Editor: In the Diffuse tab, select Multi-Sub Map.
- Upload Your Texture: Upload your tile map to the default slot.
- Set ID Source: Change Get ID from to Random and select By Node Handle.
- Assign Textures: If you have only one texture map, upload the same texture to all slots. Otherwise, use different textures for variation.
Tip: The Multi-Sub Map feature randomizes texture application, ensuring tiles don’t look identical.
Step 4: Adjusting Texture Placement
Once the material is created, adjust the texture placement for each tile to add further variation:
- Tile 1: Leave unchanged.
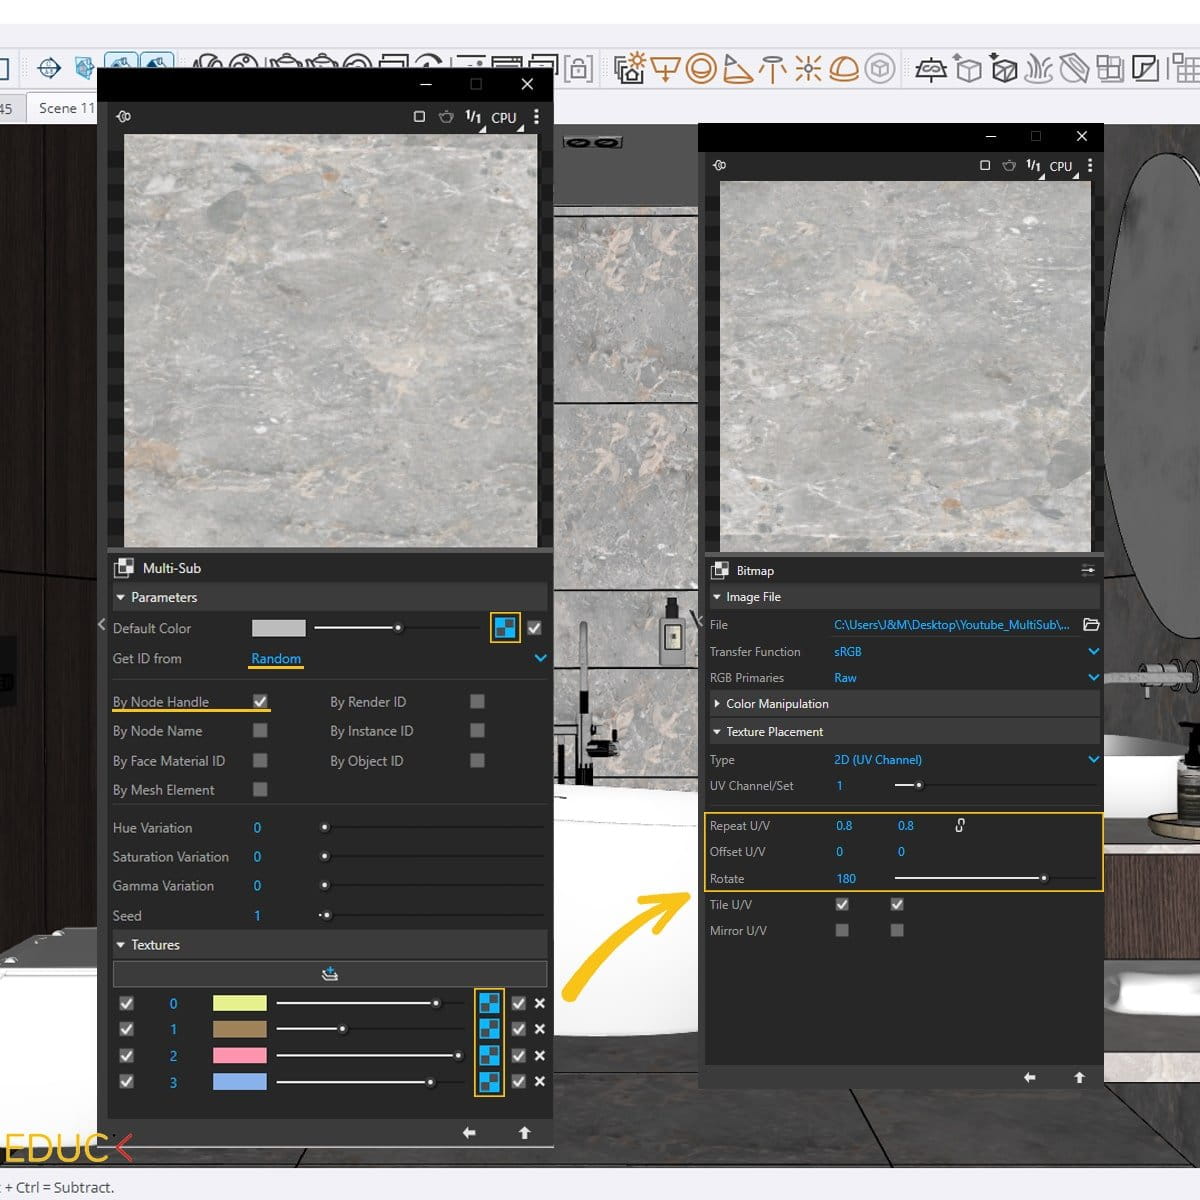
- Tile 2: Rotate the texture by 180° in the Texture Placement tab.
- Tile 3: Scale the texture by changing the Repeat U/V value to 0.8.
- Tile 4: Rotate by 180° and scale with the Repeat U/V option.
What is Repeat U/V? This setting determines how many times the texture is repeated within the 0-1 UV space. Adjusting it scales the texture, adding subtle variations to each tile.
Step 5: Randomizing Tile Properties
To make the tiles look even more realistic, randomize their properties:
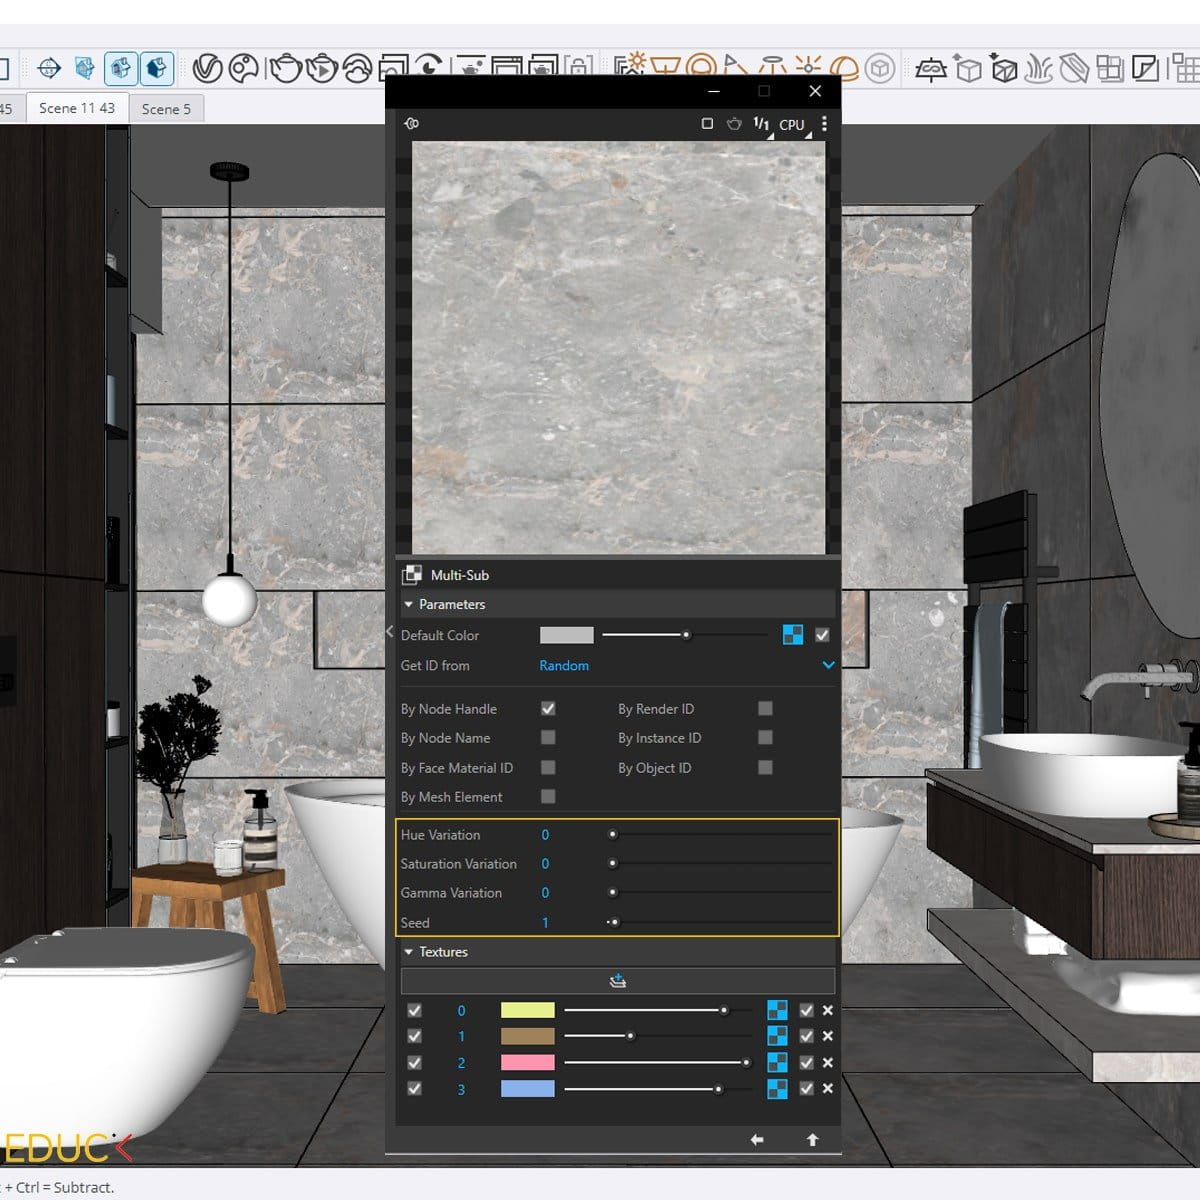
- Gamma Variation: Introduces subtle changes in brightness.
- Hue and Saturation Variation: Adds color variation.
For this project:
- Set Gamma Variation to 0.1 for slight differences.
- Leave Hue Variation and Saturation Variation at 0 for a clean look.
If you still notice repetitive patterns, adjust the Seed Value to shuffle the randomization pattern.
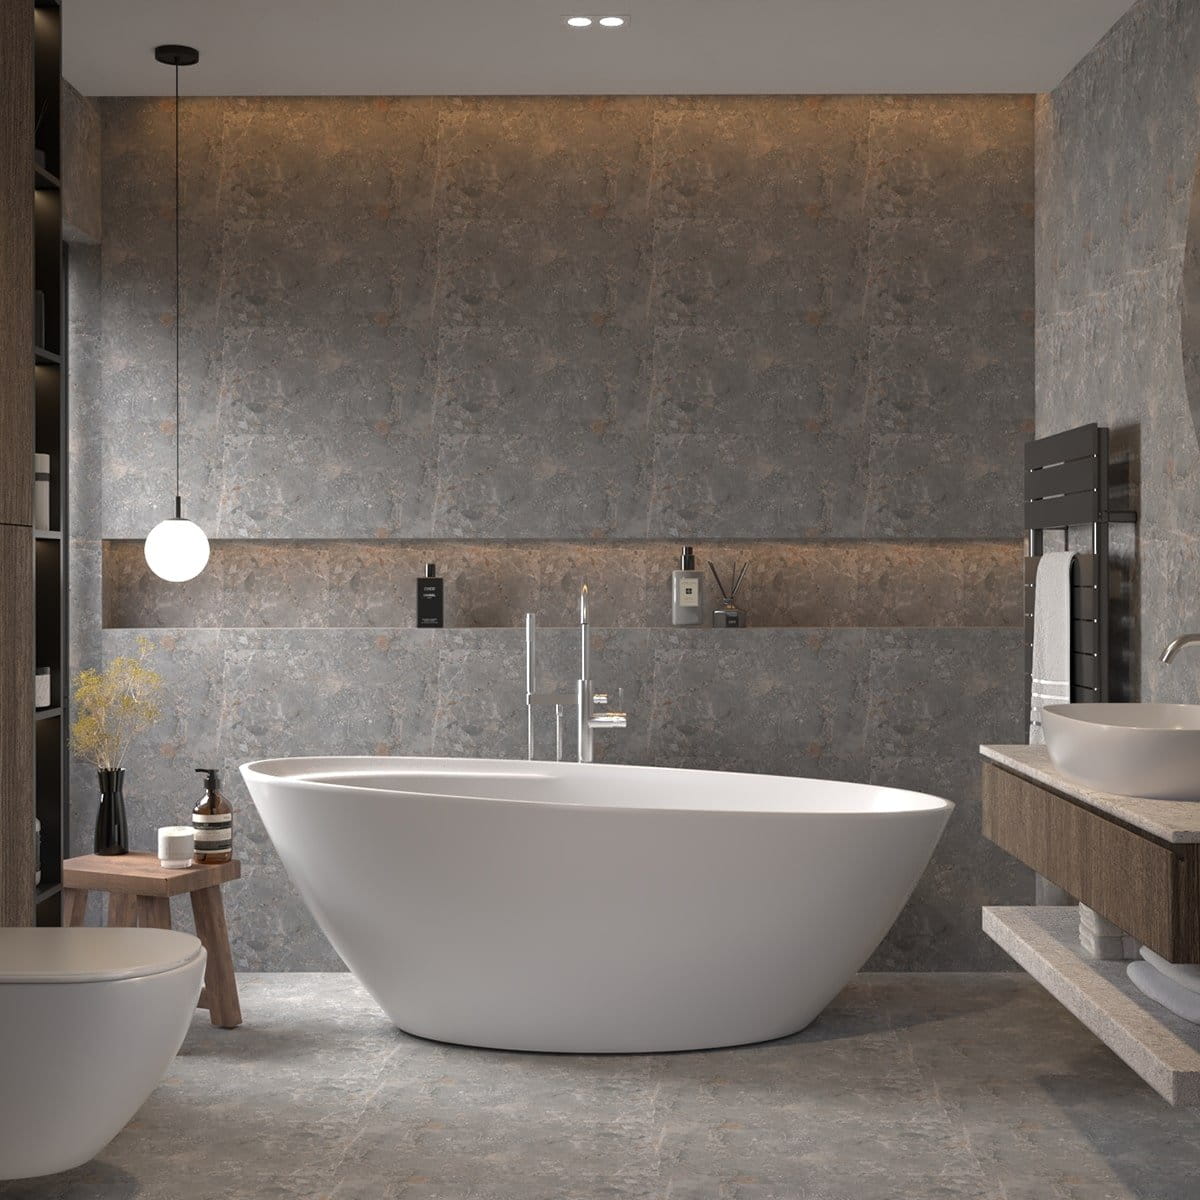
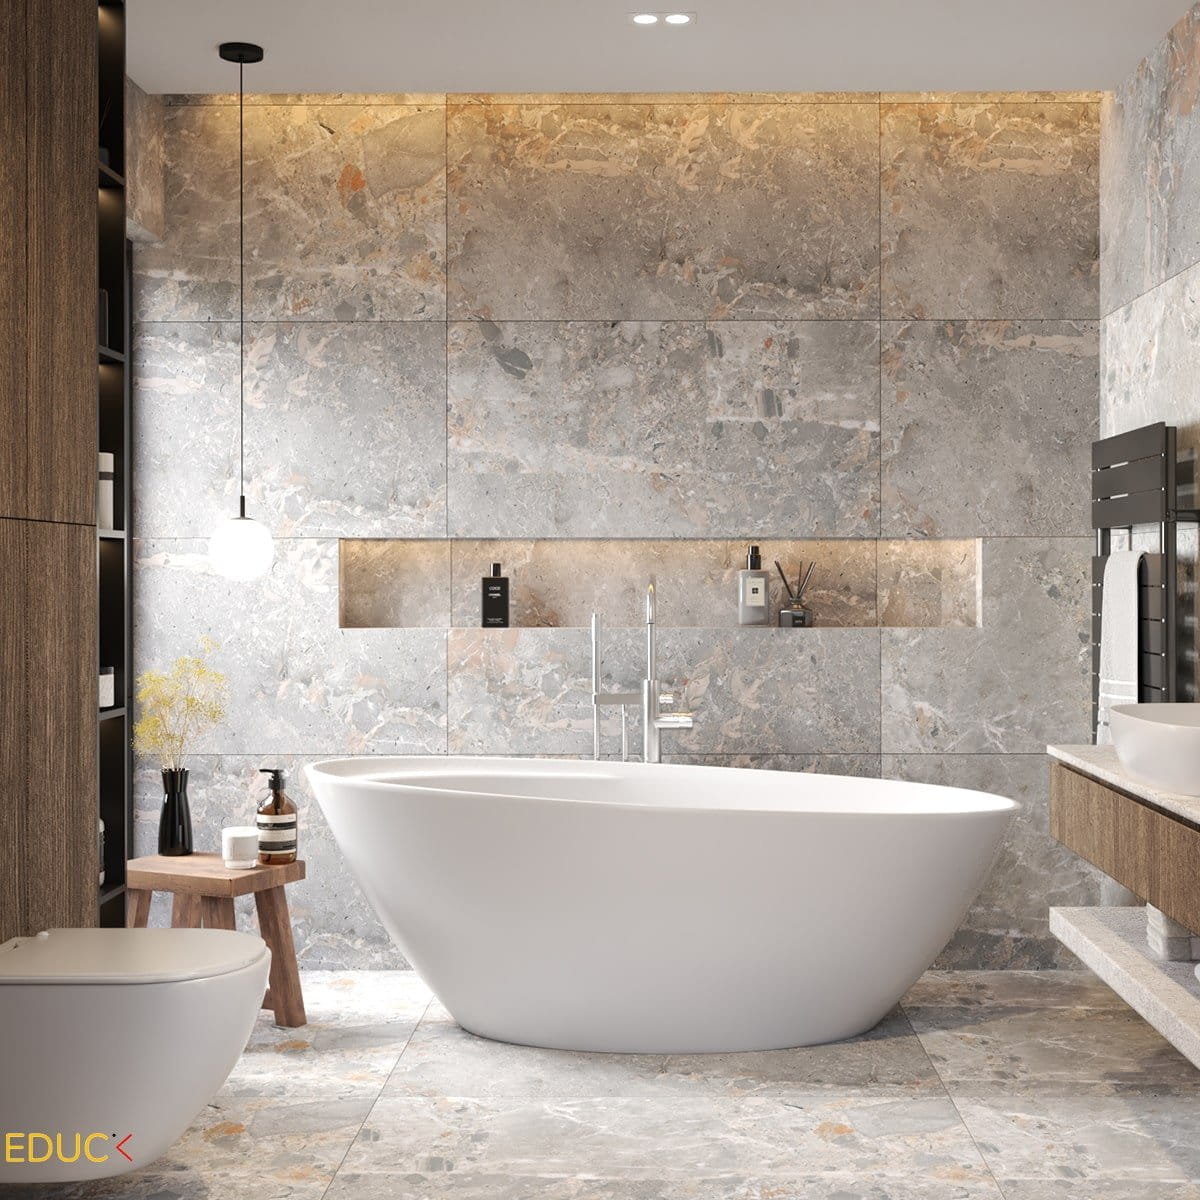
Step 6: Rendering the Final Visualization
After setting up the materials and randomization, it’s time to render the scene. Add accessories and proper lighting to enhance realism. For example:
- Use natural light for soft shadows.
- Add warm artificial lights for contrast.
Final Tips:
- Check the render for any repetitive patterns.
- Make adjustments as needed by tweaking the Seed Value or texture placement.
Conclusion
By following this process, you can create professional-looking tiles and panels for your V-Ray for SketchUp visualizations. The key lies in taking the time to manually model tiles, use the Multi-Sub Map feature, and randomize properties for a natural look. While it requires some effort, the results are well worth it.